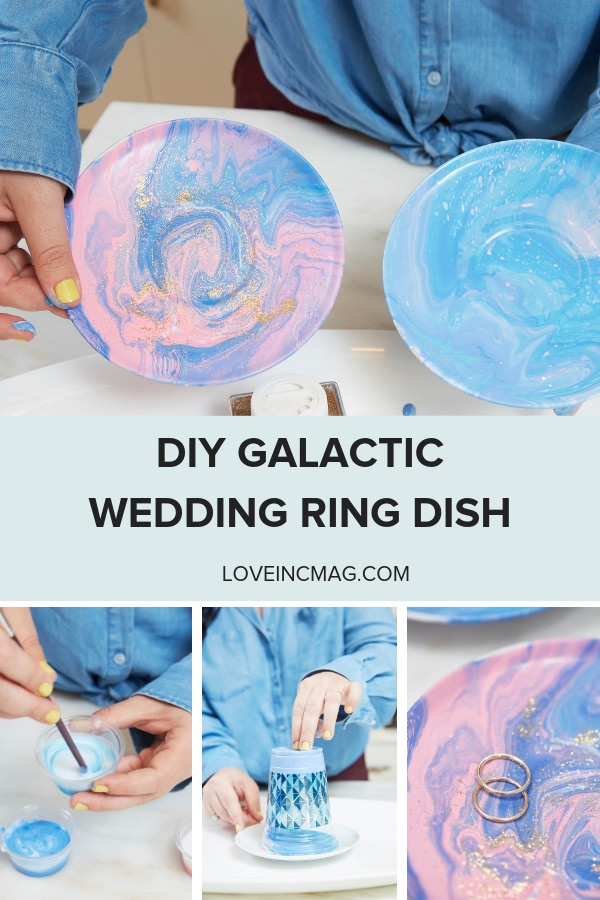
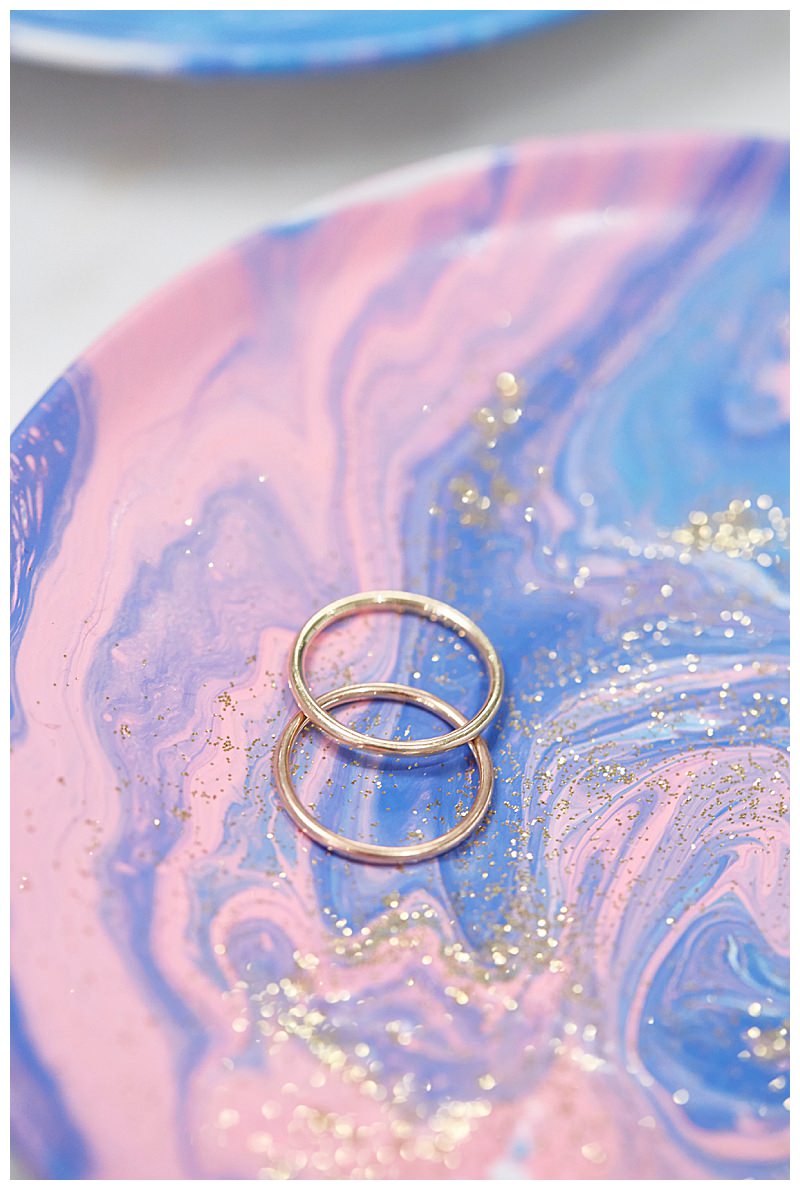
If you're a fan of the celestial wedding trend or the marble look, you're going to love our latest DIY. And the best part? It's basically just pouring liquids into a cup … seriously!
DecorArt's Pouring Medium is the secret sauce to this project, and while I used it to create a ring dish, it can be used on pretty much anything — canvas backdrops, coasters, decorative trays, guestbooks … the options are pretty endless.
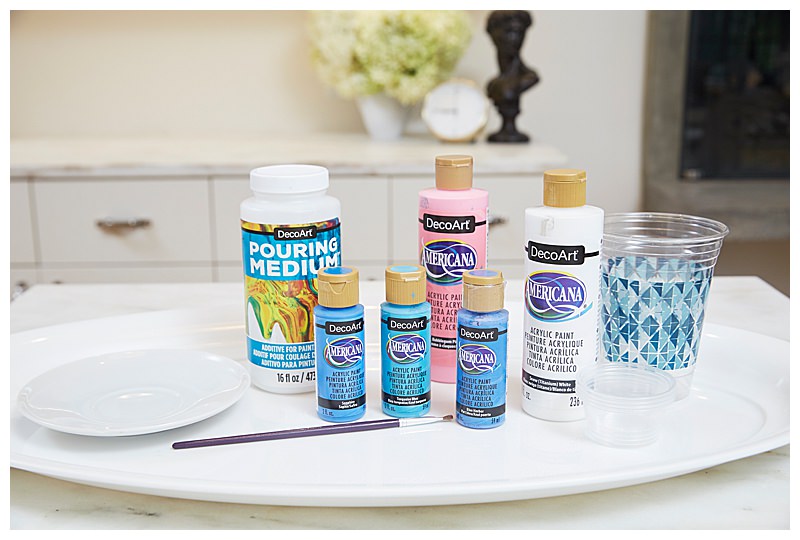
What you'll need:
- DecoArt Pouring Medium
- Acrylic Paint (colors of your choice)
- Small plastic cups (I used plastic shot glasses), one for each color
- One large plastic cup
- Craft stick or other stirring utensil
- Glitter (optional)
- Item you want to paint
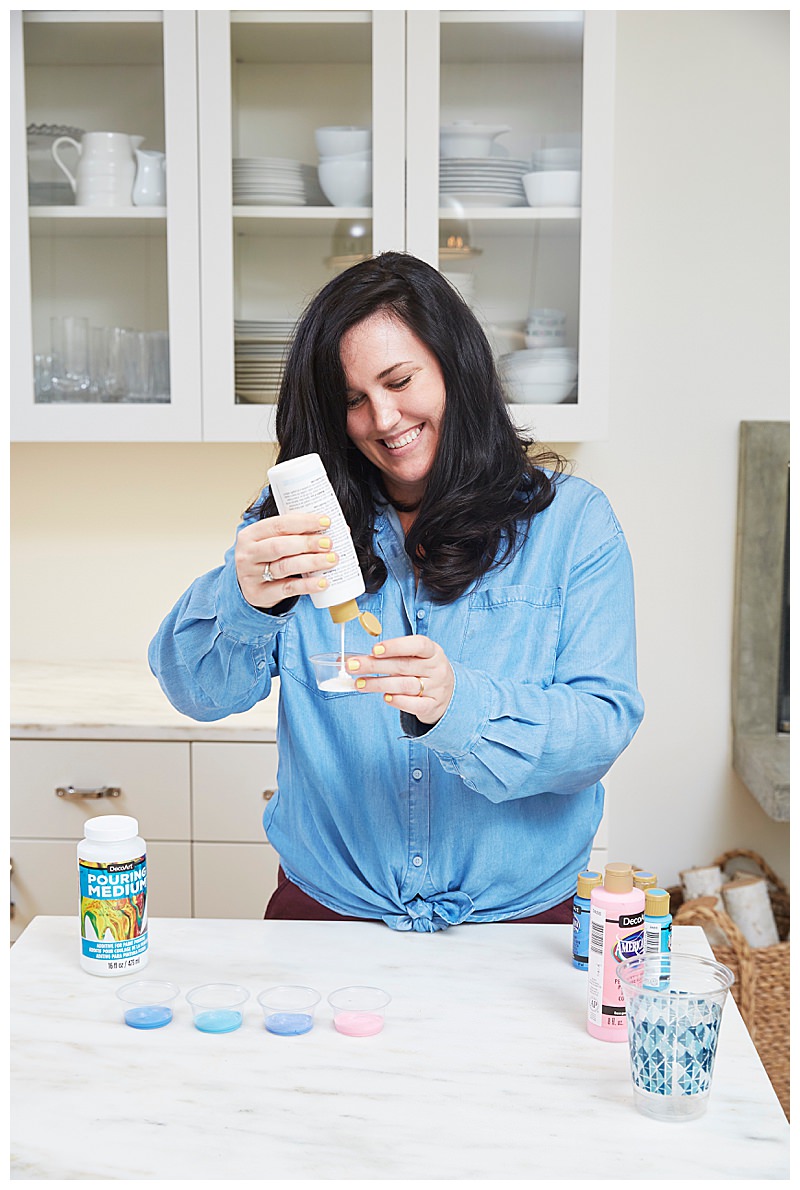
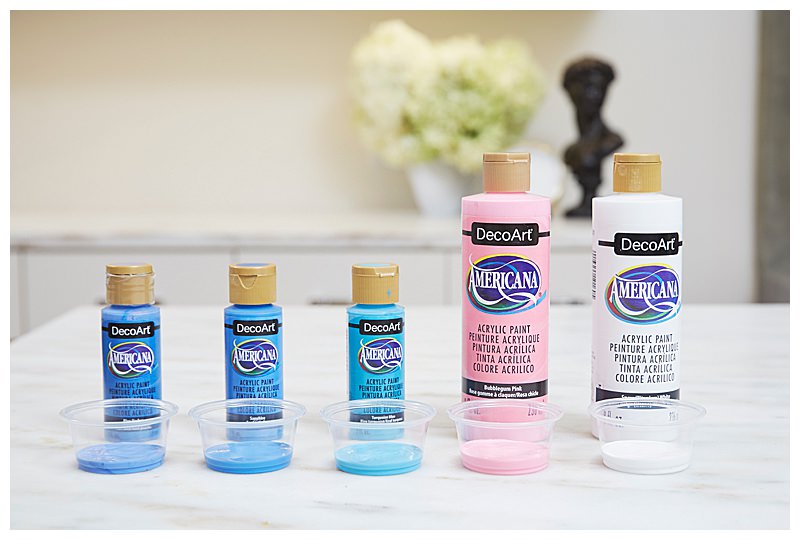
Step 1: You'll want to work over something that you can easily throw away or wash because paint may drip. Pour a small amount of each acrylic paint color into the small plastic cups, followed by the DecoArt Pouring Medium. The type of acrylic paint you are using will determine the ratio of paint-to-pouring medium:
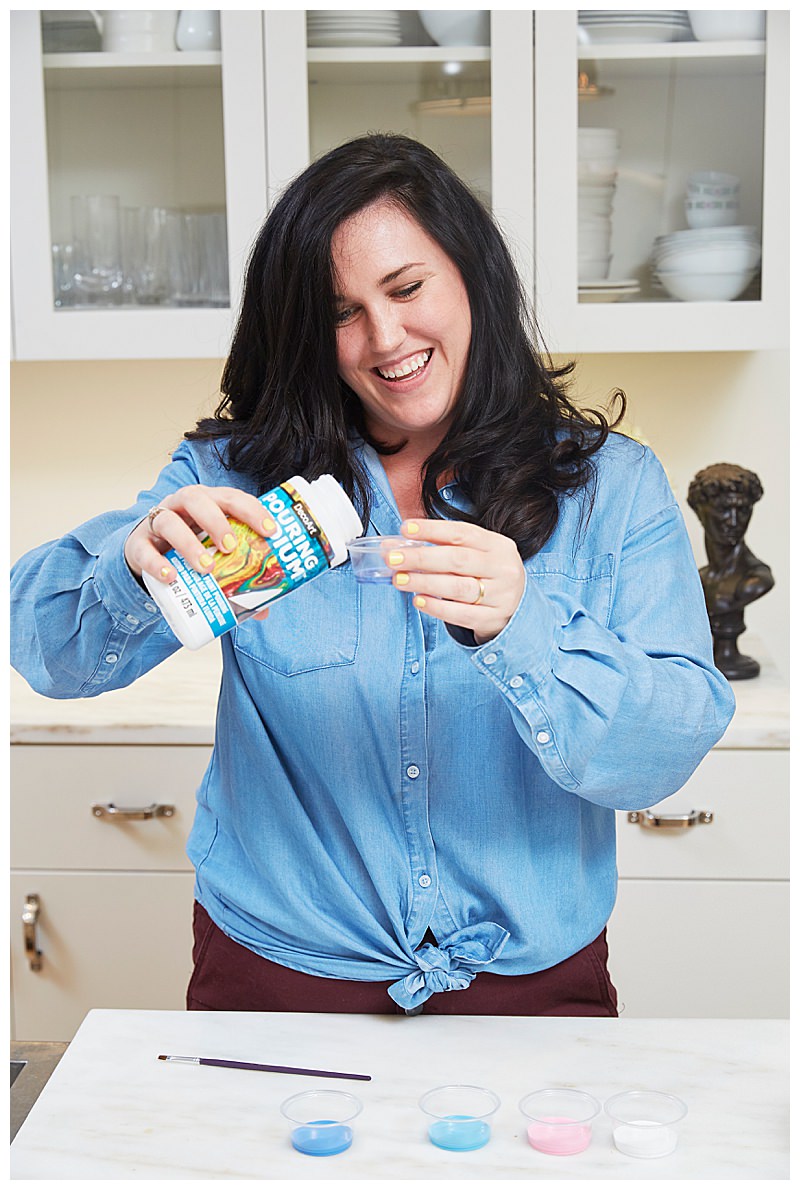
Fluid acrylics: 2:1 Paint to Pouring Medium; craft acrylics: 1:1 Paint to Pouring Medium; medium body acrylics: 1:3 Paint to Pouring Medium; heavy body acrylics: 1:6 Paint to Pouring Medium.
Browse more DIY wedding ideas!
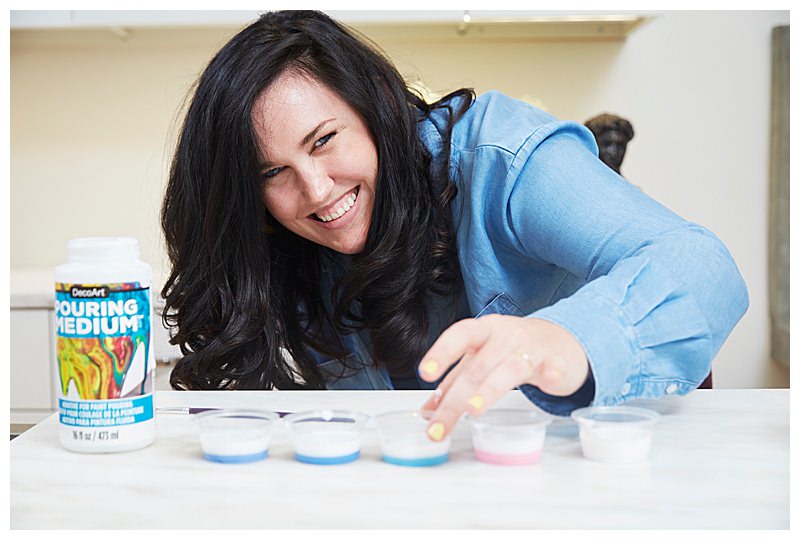
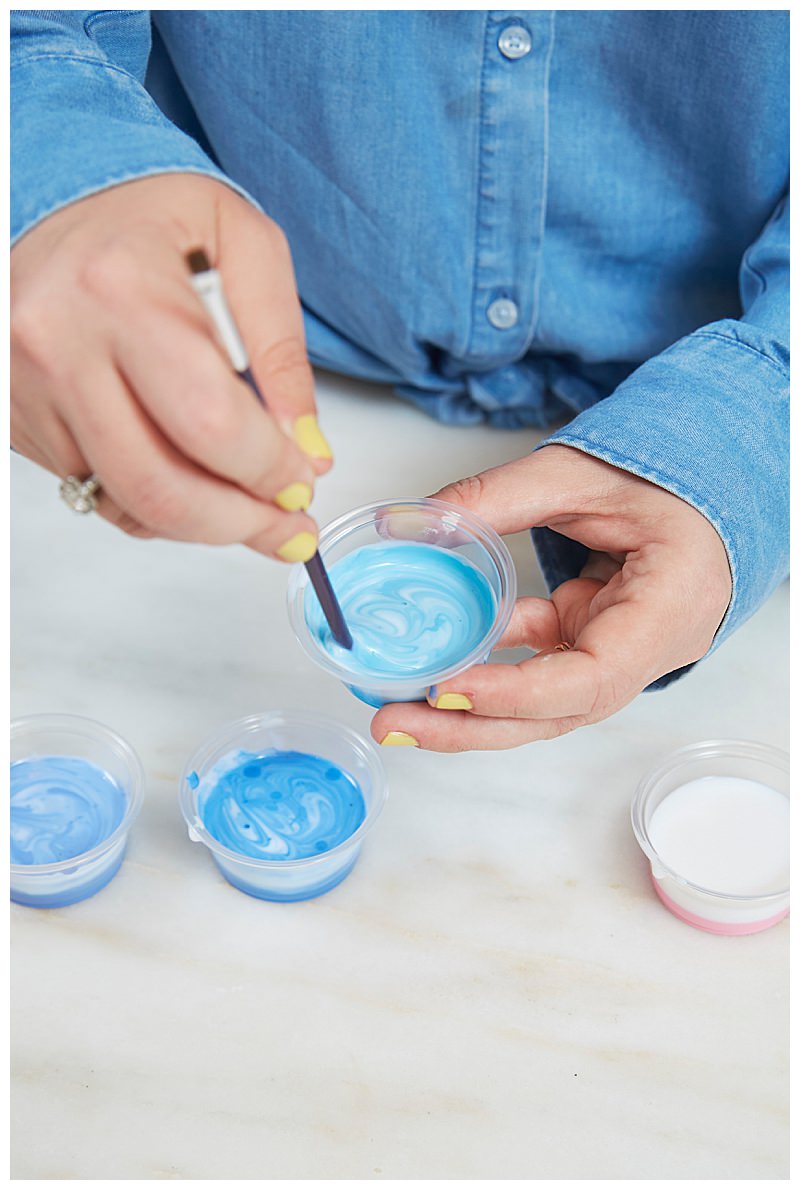
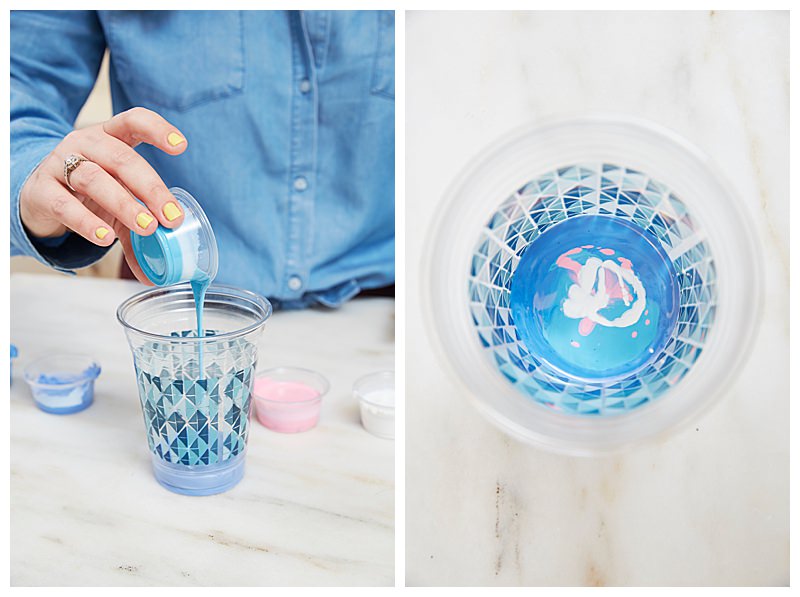
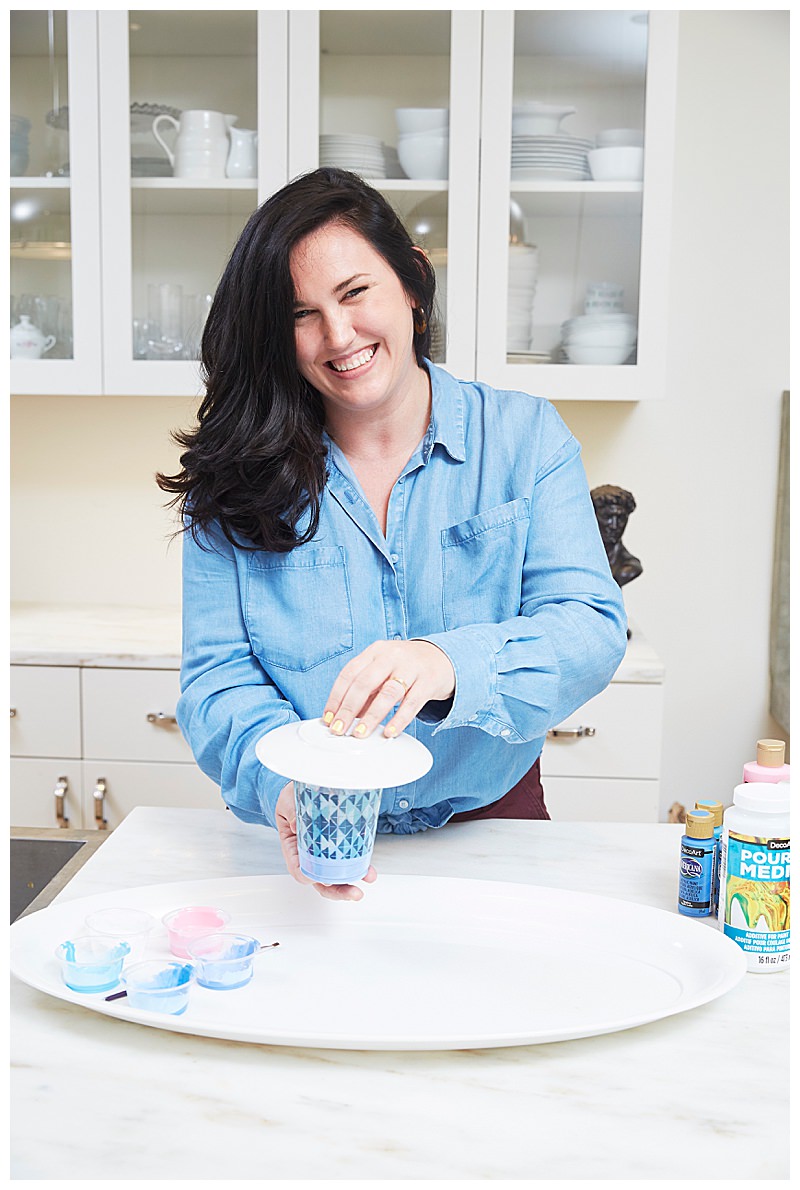
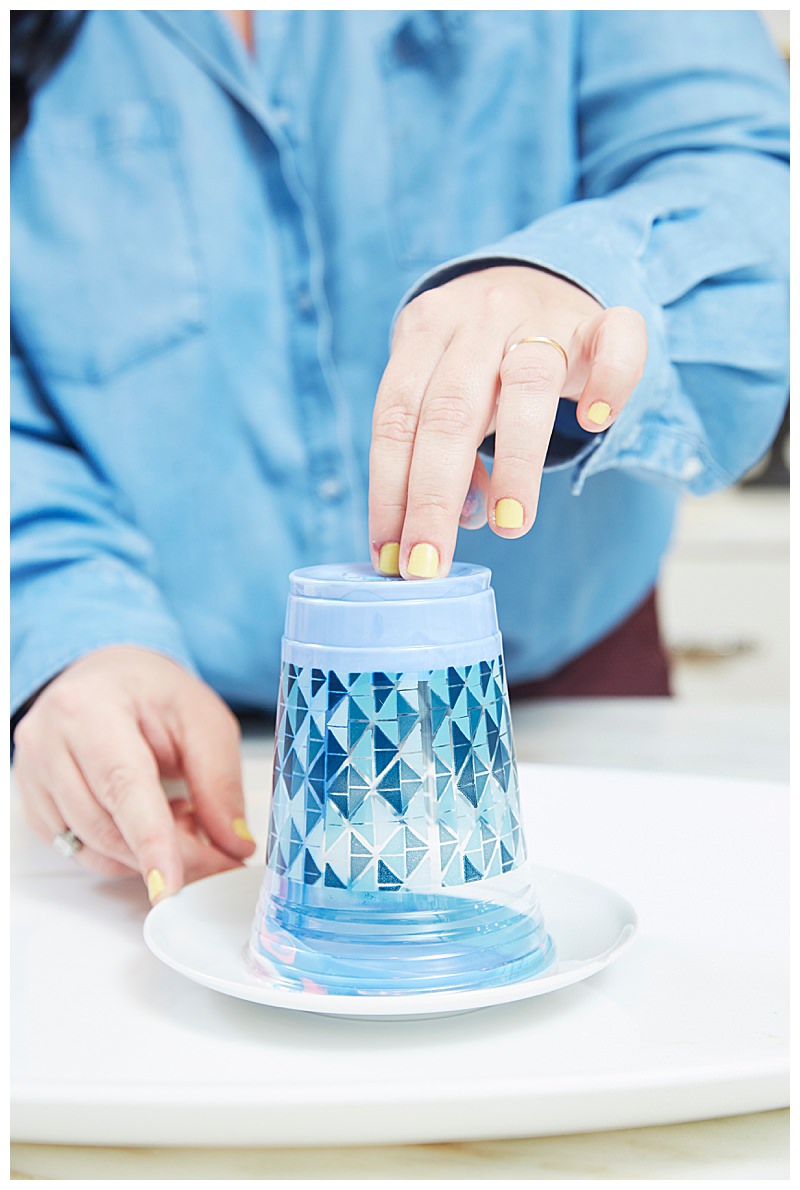
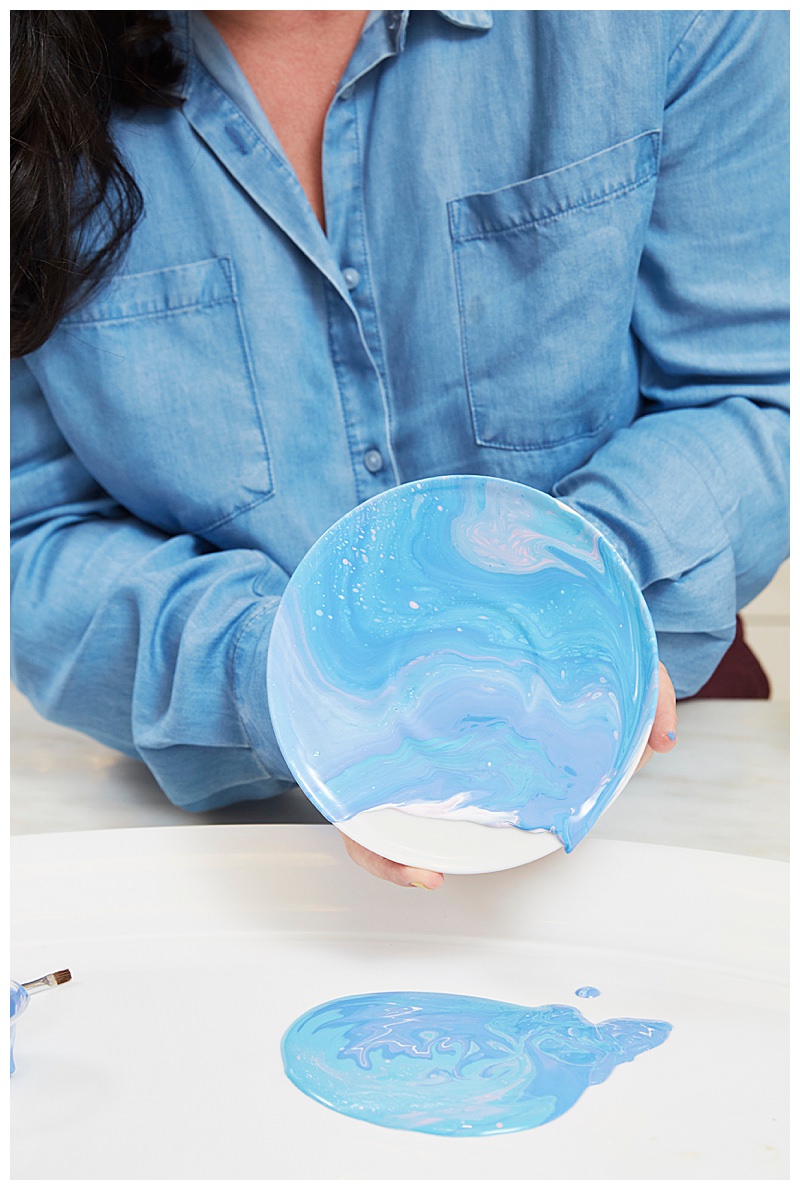
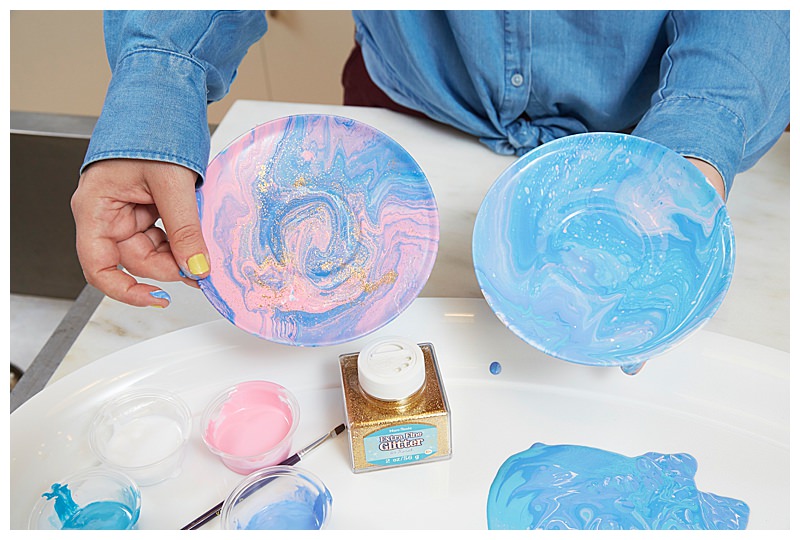
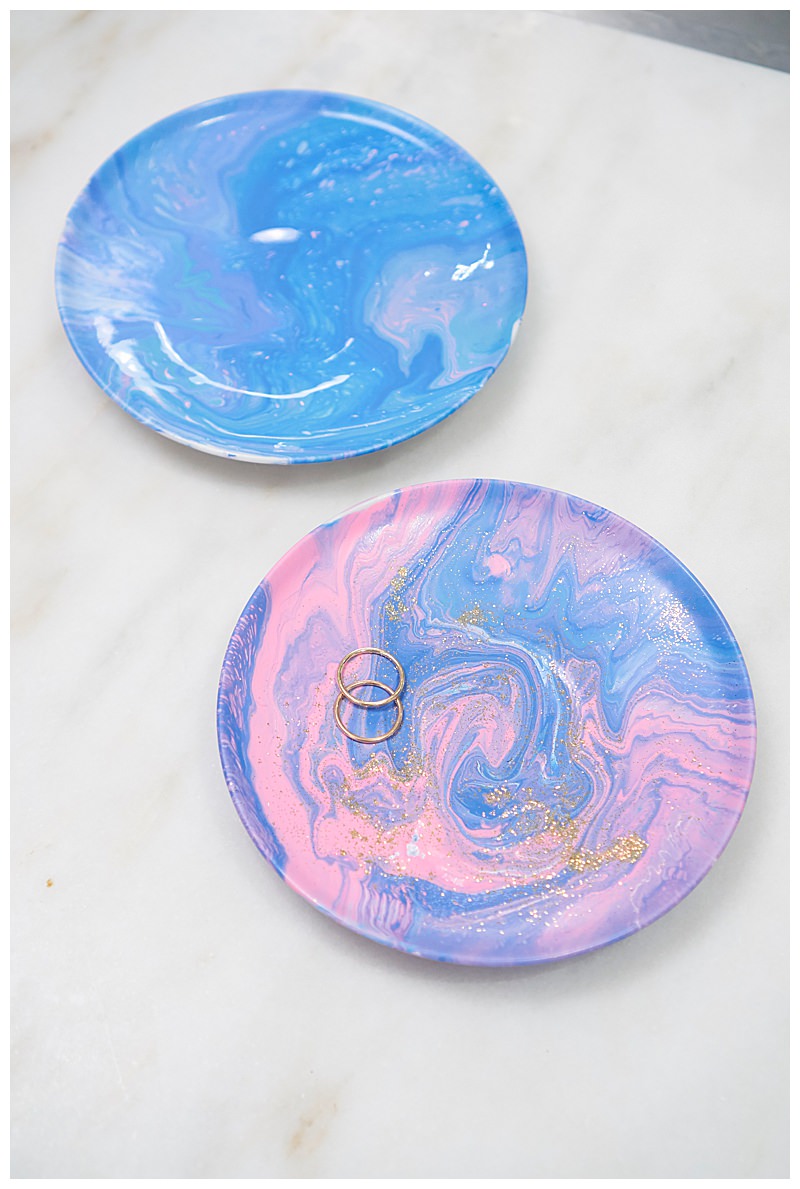
Step 2: Stir. Once the medium is mixed into each color, layer them into a single cup. The first color you add will be the last to appear, and likely the most prominent. Feel free to play around with different amounts — no look will be the same!
Step 3: Depending on your object of choice, you'll either pour straight onto your surface or place the item face down over the cup and flip. Tilt the item until the paint entirely covers it — add a little fine glitter if you so choose! — and set it out to dry.
Photography by JJ Ignotz Photography




You must be logged in to post a comment.