


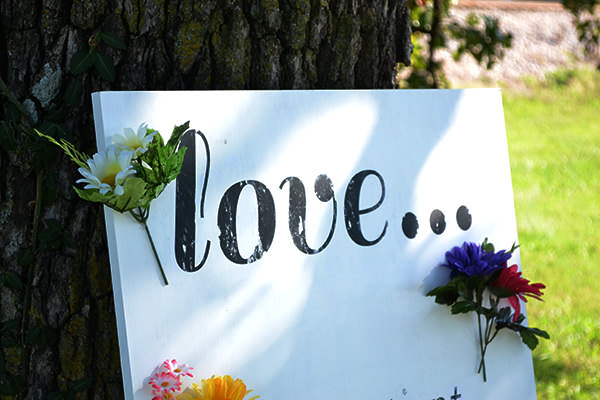
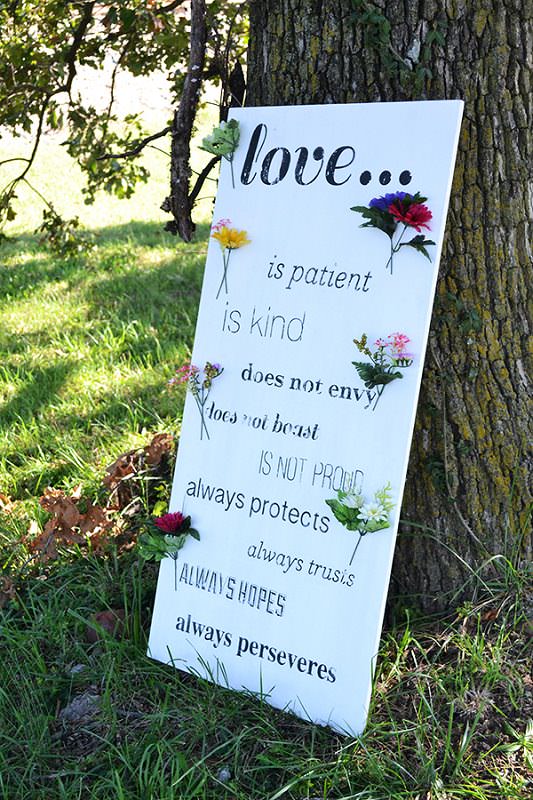
I love DIY wedding signage for a couple of reasons. First, it can be personalized to say anything that relates to you and your significant other. Second, it's crazy inexpensive. For this project, I used a plywood from Lowe's that cost less than $10, white paint and fake flowers. Now that is designing on a dime! And lastly, this is something that you can keep in your house for years to come to remember your special day.
Materials
Sanded plywood (sizes vary, choose what's best for you)
Paint
Tape
Laser printer (to print desired words)
Mod Podge
Sponge brush
- Paint the entire board with preferred color or wood finish.
- Print out text on a laser printer. Don't forget to design the document so that the letters print backwards! Click here to download the free template seen in ours.
- Tape the papers onto the board.
- Cut around the edges of the letters so that there is little paper remaining.
- Lift and apply a layer of Mod Podge beneath the words.
- Place the paper back onto the board, smoothing as you go.
- Once all words have been adhered to the board and are dry, dip your finger in a bowl of water and gently rub in a circular motion. The paper will be removed, leaving the ink on the board. *Tip: this goes a lot faster if you use a lightly dampened paper towel. And don't worry if you remove some of the ink, you can go back over it in Sharpie to fill in any gaps.
- Paste flowers to the board, or any other embellishments that match your special day!

Camille Malkiewicz, DIY Contributor
Camille is a DIY enthusiast with a creative mindset. She sees life through the eyes of a DIY-er, always looking for ways that she can improvise, improve or upcycle. When she’s not designing, crafting or DIY-ing, you can find her in a CrossFit gym or driving to the nearest coffee shop. Camille is also the founder of Craftistas, a online resource for the crafting and DIY blogger to help them monetize their creative content.


You must be logged in to post a comment.