Using a Cricut — a cutting machine that creates clean, custom designs — this leather luggage tag DIY comes together easily and looks beautifully personal for your honeymoon.
If you’re a DIY type of soonlywed, let me start off by saying that the Cricut smart cutting machine works wonders, and is absolutely worth the investment if you’re planning on tackling a lot of projects. The amount of details and designs that you can make with it are endless — I’ve used my personal one more times than I can count over the years, and it’s certainly paid for itself 10x over.
Chelsea Barton of Tidewater and Tulle is a Cricut wiz, and has published a beginner’s guide to all things Cricut through a wedding lens, aptly titled Cricut Weddings, featuring 22 beautifully designed step-by-step projects and exclusive .SVG files. From save-the-date bookmarks to adorable pet bandanas, favor stickers and everything in-between, it’s the perfect resource for the crafty soonlywed. And we’re lucky enough to share one of my favorite projects from the book exclusively with Love Inc. readers: the luggage tag!
From what you wear to the tags on your luggage, those just-married touches add an extra layer of excitement, and this DIY leather luggage tag is the perfect way to show off your newlywed status. This easy project lets you mix, match, and customize the design to reflect your relationship, whether that’s bows, bow ties, both, or something entirely different.
And if you’re looking for a vegan-friendly alternative, there are plenty of durable faux leathers and suedes that can stand up to the rigors of travel and are also Cricut-compatible. With a bit of research, you’ll discover a wide variety of stylish and sturdy options.
So let’s get started!

WHAT IS A CRICUT?
Cricut is a smart cutting machine that lets you create precise, professional-looking designs at home — no design background required! Using your computer, smartphone, or tablet and a free design app, you can cut, draw, and personalize everything from paper and vinyl to fabric and leather.
If you’ve seen a wedding sign or table number, it’s highly likely that it was made with a Cricut! It’s become a go-to tool for couples who want to add meaningful, custom details to their day.

Luggage Tag DIY
SUPPLIES YOU’LL NEED
- Cricut Maker or Cricut Explore machine
- “Luggage Tag” SVG file, available here
- Fine-point blade and housing
- Deep-point blade and housing
- 12” x 12” (30.5cm x 30.5cm) Light or StandardGrip cutting mat
- 12” x 12” (30.5cm x 30.5cm) StrongGrip cutting mat
- Heat transfer vinyl (HTV)
- Cricut Genuine Leather (or tooling leather or vegan leather option)
- Weeder tool
- Masking tape (optional)
- Household iron or Cricut EasyPress Mini™
- Cricut EasyPress™ heat-resistant mat (optional)
INSTRUCTIONS
- Gather your supplies, download the .SVG file and upload .SVG into Cricut Design Space. After uploading, add this .SVG to your Canvas screen. The .SVG file for this project includes a variety of bow styles and abbreviated titles in addition to the luggage tag itself. Delete or hide the layers that aren’t relevant to your project before starting. The .SVG is already perfectly sized and ready-to-cut, but feel free to change to a smaller or bigger size if you wish.

- Adjust your .SVG file. After you have chosen the layers you want, move the bows and titles into how you want it to look on your luggage tag. You may want to Ungroup the layers to help make moving around a little easier. Once satisfied, click and highlight only your bows and titles (the HTV layers), then click Attach so the HTV layers stay together when cutting.
Be sure to not attach your luggage tag shape layer with them as your tag is a different material and will be cut on a different mat. If making multiple tags at the same time, be sure to Duplicate any applicable layers so you have the amount you need as well.
IMPORTANT: When cutting thick materials like leather, you will need to move your Cricut machine’s star wheels the furthest away from your material to prevent any unwanted roller marks on your leather (e.g., towards the right side of the machine). These are the white plastic rings on the machine’s metal roller. If you haven’t done this for a previous project yet, do so now!


- Let your machine create! Since everything has already been pre-sized for you in Design Space, all you need to do is place your materials on the appropriate cutting mats. Your leather will go fuzzy side up onto the StrongGrip mat and your HTV will go shiny side down on your Light or StandardGrip mat. Click on Make, turn “Mirror” on for both your leather and HTV cuts as your materials are in reverse, and follow the on-screen instructions.
Depending on your mat’s stickiness and leather type, you may need to use masking tape on your leather to keep it in place on the mat. Leather involves a couple of passes as your machine cuts, so it must be kept from wiggling. If you have a fresh mat, you shouldn’t need this as you can see in my photos!
Once your machine has finished cutting all of your project’s elements, carefully remove your materials from their mats.


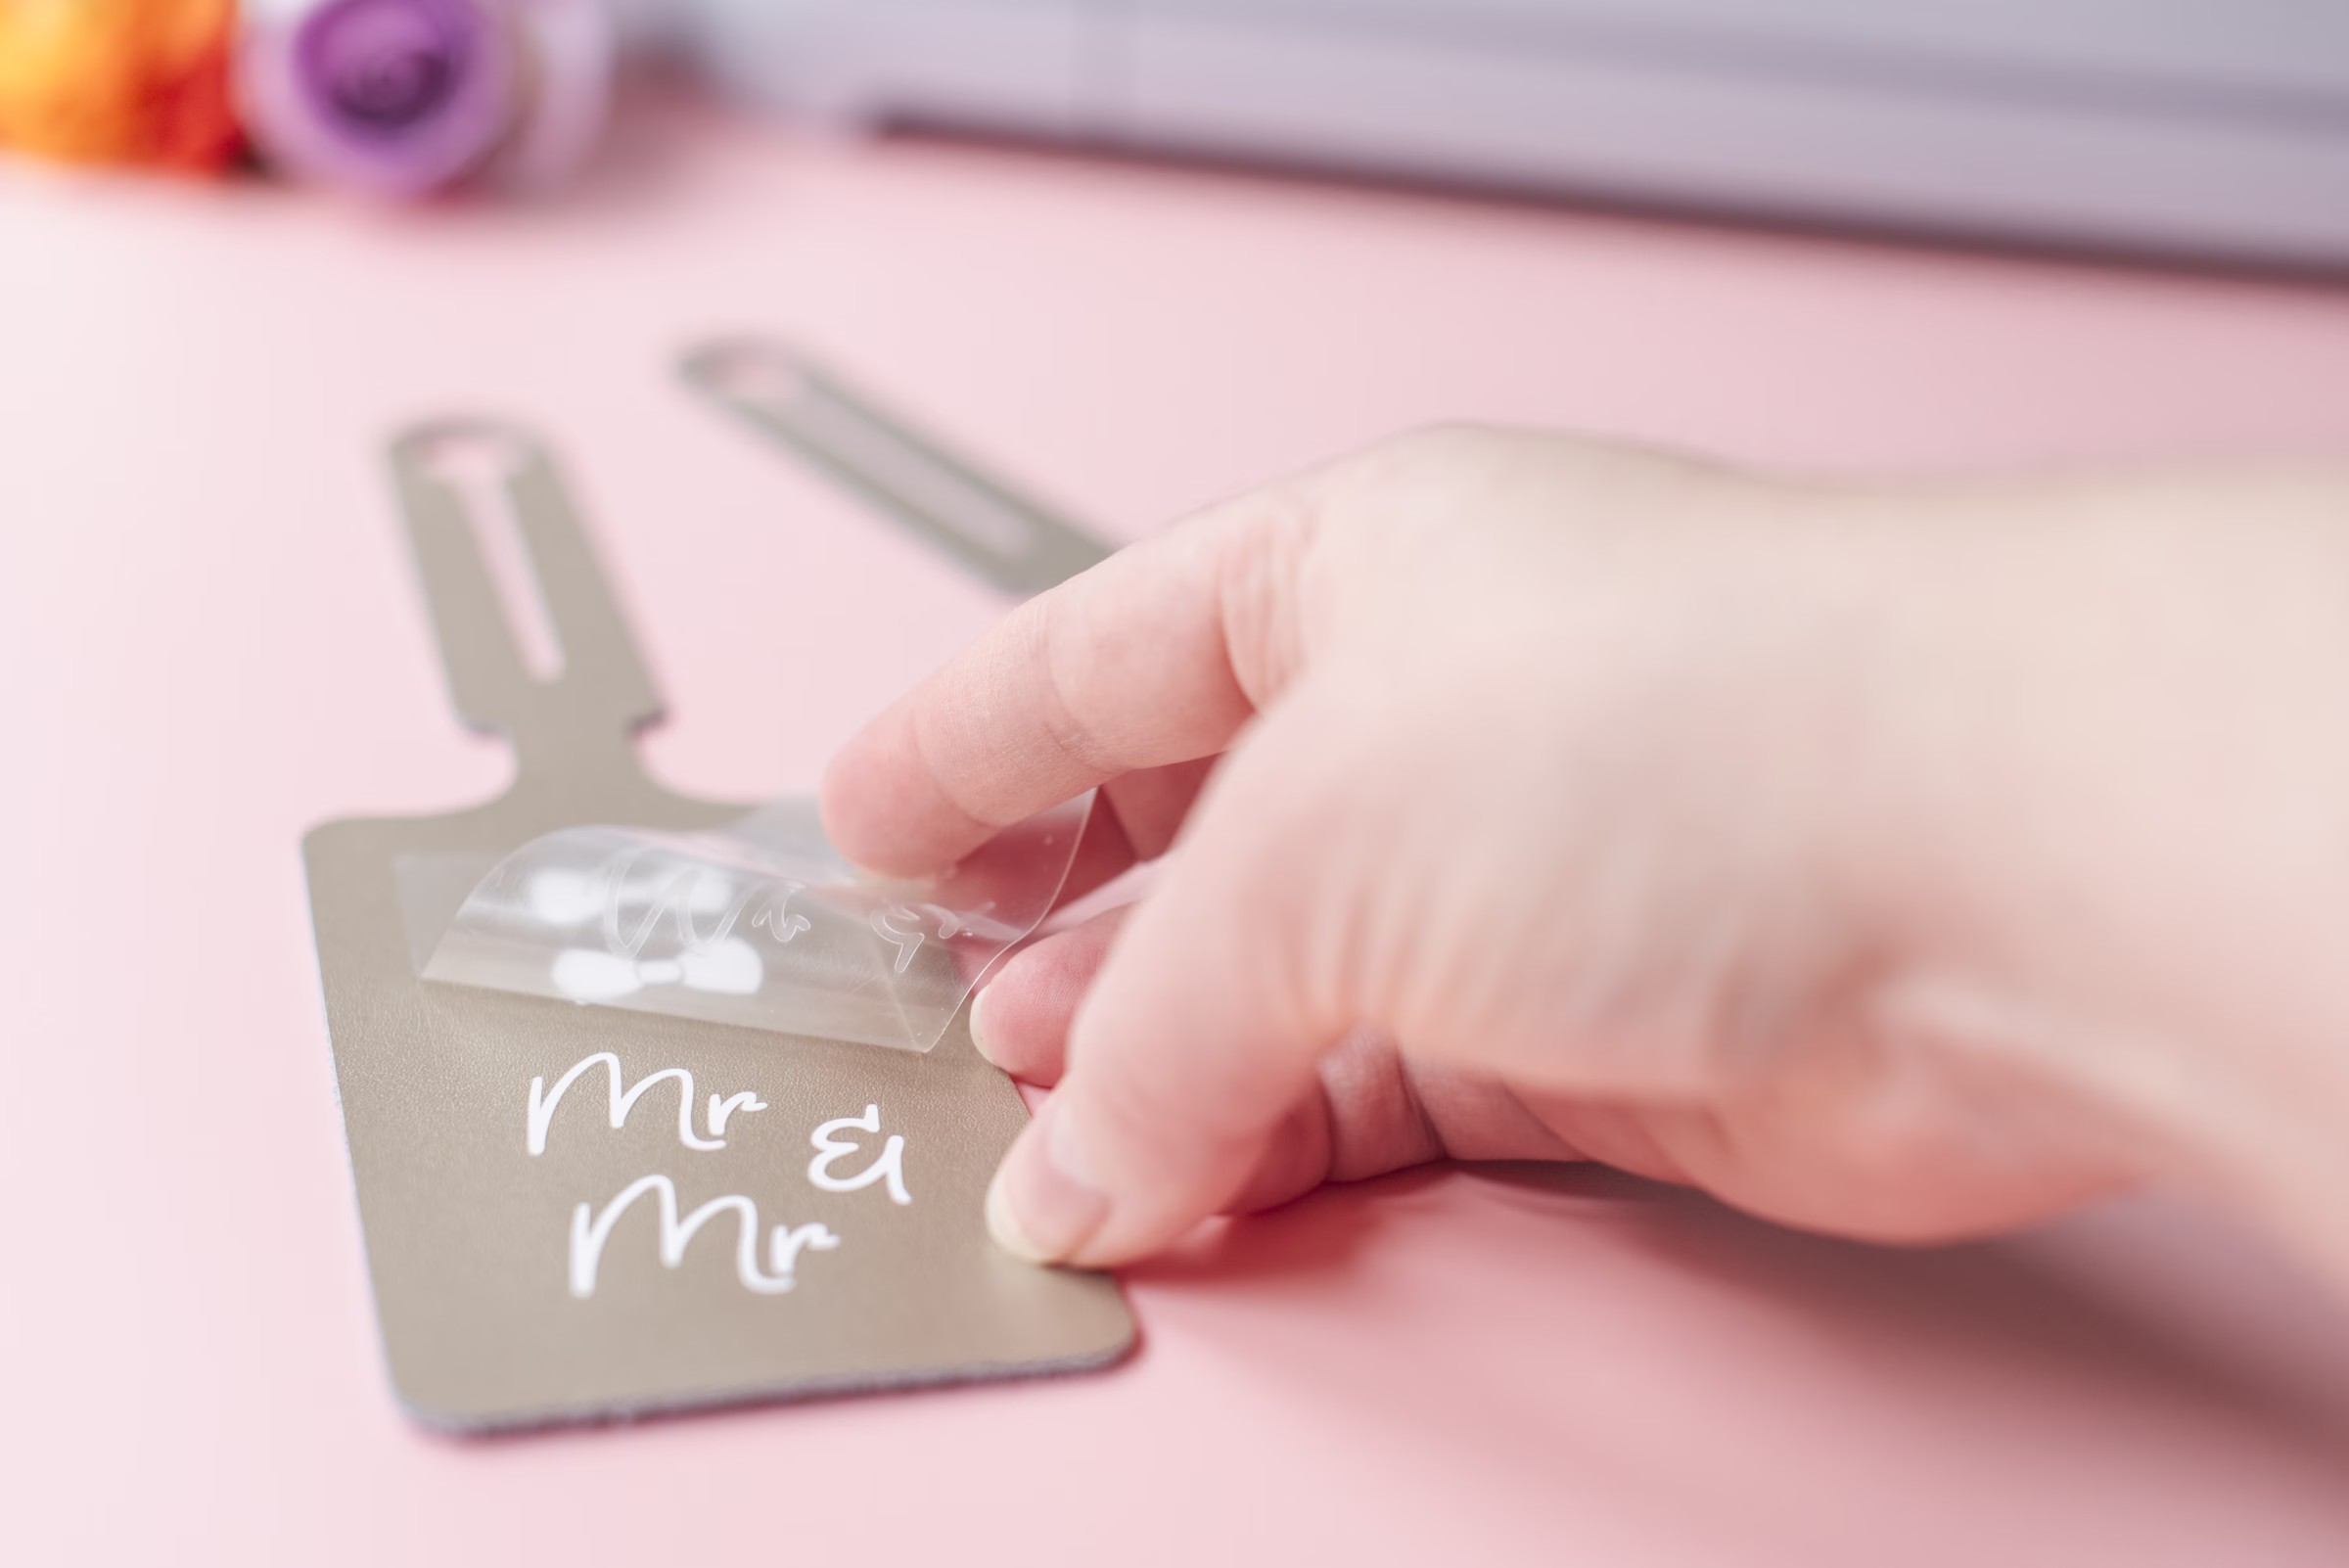
- Weed out your design. Take your weeder tool and remove all of the bits of HTV that you do not want on your luggage tag. All that should be left on your heat-resistant carrier sheet is your design.
- Heat it up and press. Preheat your iron or EasyPress Mini to its Low setting.
As my tag is a metallic leather and the Cricut Heat Guide doesn’t currently offer a recommended setting for its Genuine Leather at the time of writing, the lowest heat setting for 30 seconds is a good, safe starting point to test. I would always suggest using some of your leather scraps and HTV scraps to figure out your ideal heat settings before pressing on your official luggage tags, especially when you’re working with more expensive materials!


Once your iron or EasyPress Mini is at temperature and ready, place your HTV design (shiny side up) on your luggage tag and press.
Allow to cool completely. Leather can be tricky sometimes, so if the HTV hasn’t adhered completely after you’ve lifted a corner, do another press over the affected area for five seconds. Allow to cool again, and repeat in intervals until your HTV is fully stuck to your tag. Once the carrier sheet is cool to touch, slowly peel back to see your new honeymoon accessory. When ready, attach to your bag handle by pulling the bottom part of the tag through the loop end.

And this project’s .SVG file can go beyond a luggage tag! Other ways to incorporate this design: hats, bags, t-shirts or even shoes. Your creativity is limitless! A big thank you to Chelsea for sharing this project with our readers, and be sure to preorder your copy of Cricut Weddings, releasing on April 21st, for even more project ideas and inspiration.
Not crafty but still want to show off your upgraded titles? We got you …
Be sure to check out our Love Inc. Shop — we particularly love “It’s giving husband” and “It’s giving wife” hat designs and tumblers in a variety of flags (gay, lesbian, bi, trans, nonbinary and ace).

Love Inc. Shop
Love Inc. Shop is the official merch store by Love Inc., the leading LGBTQ+ inclusive wedding publication. Every item is designed with pride, joy, and community in mind. Whether you’re planning your wedding, looking for a gift, or just want to show off some queer love, there’s something here for you.